
Support
Spark Blueprint User Guide
Spark Blueprint™ is an easy-to-use tool for room planning and high-quality visualization. This user guide holds the basic knowledge needed to use Spark Blueprint™ in an effortless way.

Overview
Spark Blueprint Interface Overview
1. Control bar
The Control bar gives access to actions such as saving, creating, and loading projects, as well as viewing the currently active project. Undo and redo actions is also accessed from here. To the right the Assortment manager can be found, together with user account control, preferences, and help.
2. Drawing area
The Drawing area displays a view of the current drawing. By interacting with the drawing, it can be manipulated into desired shape. The bar underneath allows the user to zoom in or out, view the drawing in either 2D layout view or a 3D perspective view, and add measurements and annotations into the drawing.
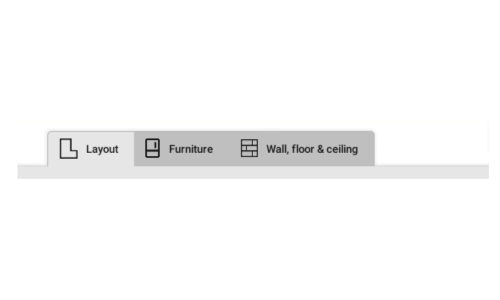
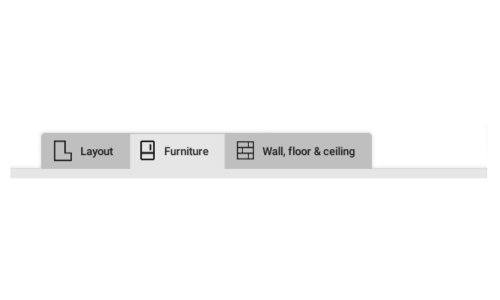
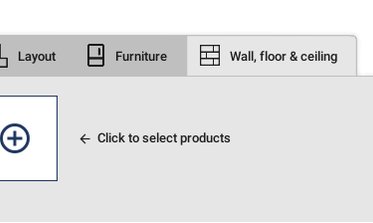
3. Palette
The Palette holds selected objects and products that can be placed in the drawing. There are three categories: “Layout”, “Furniture” and “Wall, floor & ceiling”, where the two latter ones are connected to the installed assortments which are accessed by clicking the “+”-button.
4. Option panel
Within the Option panel, the configurable properties of the currently selected object or product are shown. That can for example be placement, rotation, or color, although the properties available depends on the object.
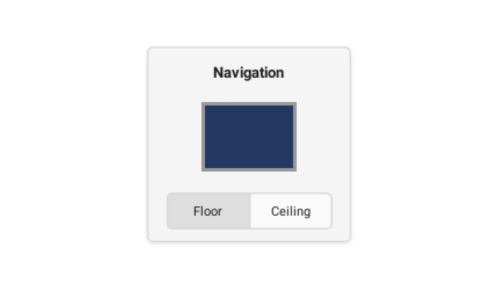
5. Navigation panel
The Navigation panel visualizes which surface of the drawing that is currently active. It also allows for easy access between either floor- or ceiling-view.
Getting Started
Creating a drawing
A Spark Blueprint Project consists of one or multiple Proposals, also referred to as drawings. Creating a drawing is easy, and the first thing you need to do is modifying the layout before adding products, furniture, and structure to the room.
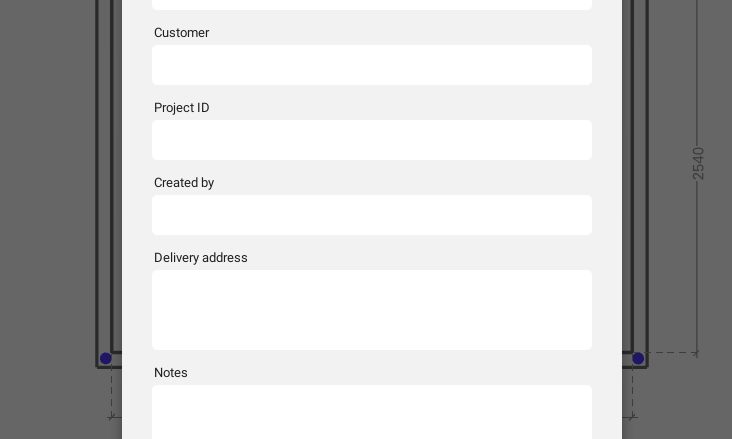
Modifying the Layout
Start off by getting the measurements of your drawing right. Make sure the “Layout” tab is selected in the Palette.
Select the floor perspective in the Navigation panel by clicking in the middle of the drawing representation.
BASIC ACTIONS


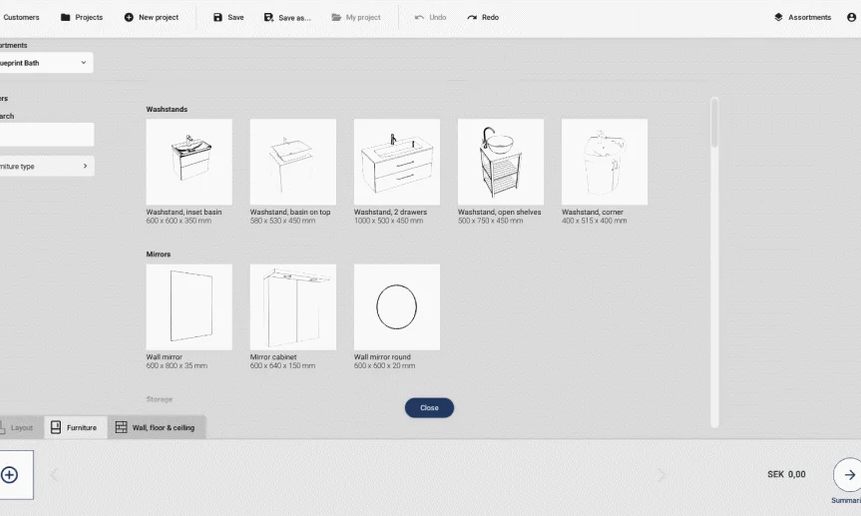
Adding Furniture
To add furniture to your drawing select the Furniture tab in the Palette.
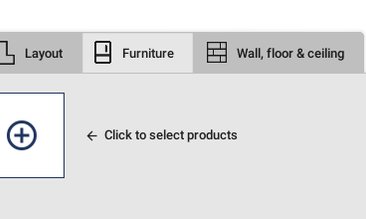


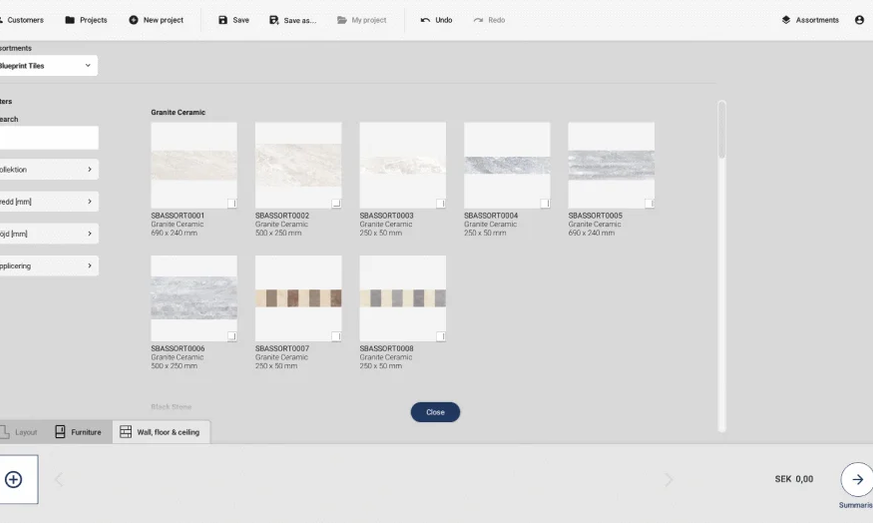
Adding products to surfaces
To add furniture to your drawing select the Wall, floor & ceiling tab in the Palette.


Adding measurements or annotations
To add measurements or annotations to the drawing, use the measurement-tool in the Drawing area.
Basic actions


Saving your work
To be able to open the drawing again, it needs to be saved. Depending on if it is the first proposal in a new project, or a proposal from an already existing project, there are different ways to proceed.
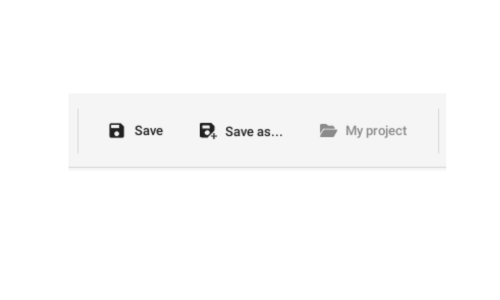
Using Save and Save As
To save your work in Spark Blueprint, use the Save or Save as buttons which are placed in the Control bar.
Basic Actions

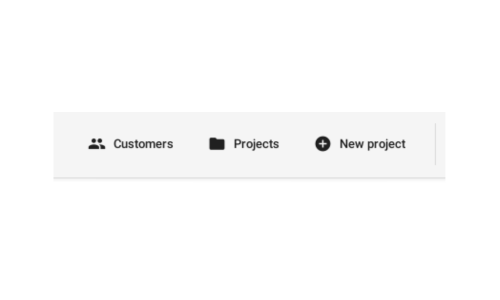
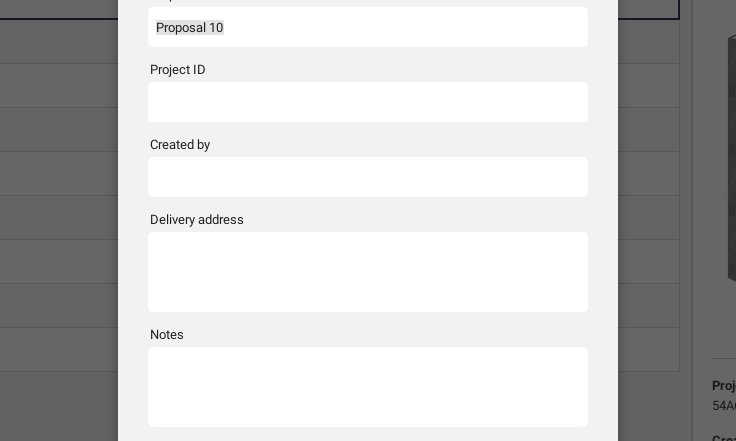
Managing projects and proposals
All of your projects will be shown under the Projects button. In this view they can easily be sorted using the list or the search bar, which enables you to manage them and their accounted proposals in a simple way.
Projects and proposals
The Projects button is placed in the Control bar.
Basic Actions


Keyboard shortcuts
Use arrow keys to nudge 1mm.
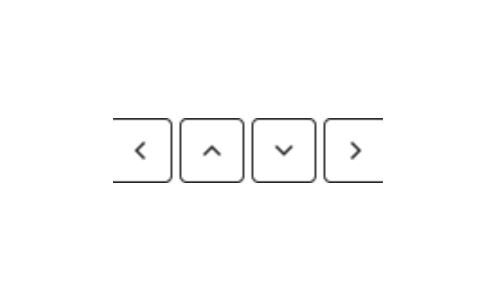
Hold down Shift while using the arrow keys to nudge 10mm.

Hold down Ctrl to prevent products from snapping if placed closer than 100mm.
Cloud Render - Photorealistic visualisation
Cloud Render creates photorealistic images of the room with one easy click. Set the appropriate perspective in Summarize and then click in Cloud Render. Using Cloud Render requires a separate license. Contact support@spark-vision.com for more information.

Contact support
If you have any questions or experience problems, please feel free to contact us at support@spark-vision.com or on +46 31 708 98 00.