
Supporto
Guida utente di Spark Blueprint
Spark Blueprint™ è uno strumento facile da usare per la progettazione degli ambienti e la visualizzazione di alta qualità. Questa guida utente contiene le nozioni di base necessarie per utilizzare Spark Blueprint™ in modo semplice e intuitivo.

Panoramica
Panoramica dell'interfaccia Spark Blueprint
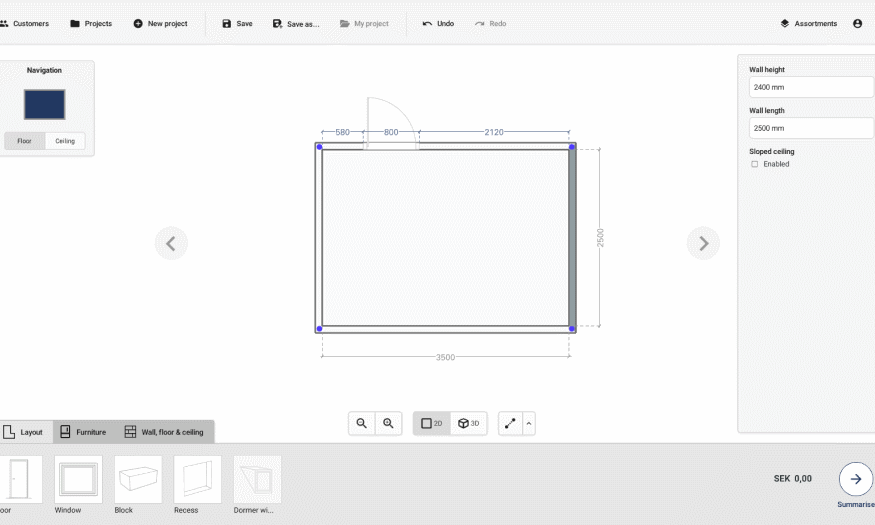
1. Barra di controllo
La barra di controllo offre accesso ad azioni come salvare, creare e caricare progetti, oltre a visualizzare il progetto attualmente attivo. Da qui è anche possibile annullare e ripristinare le azioni. A destra si trova il gestore degli assortimenti, insieme ai controlli dell’account utente, alle preferenze e alla guida.
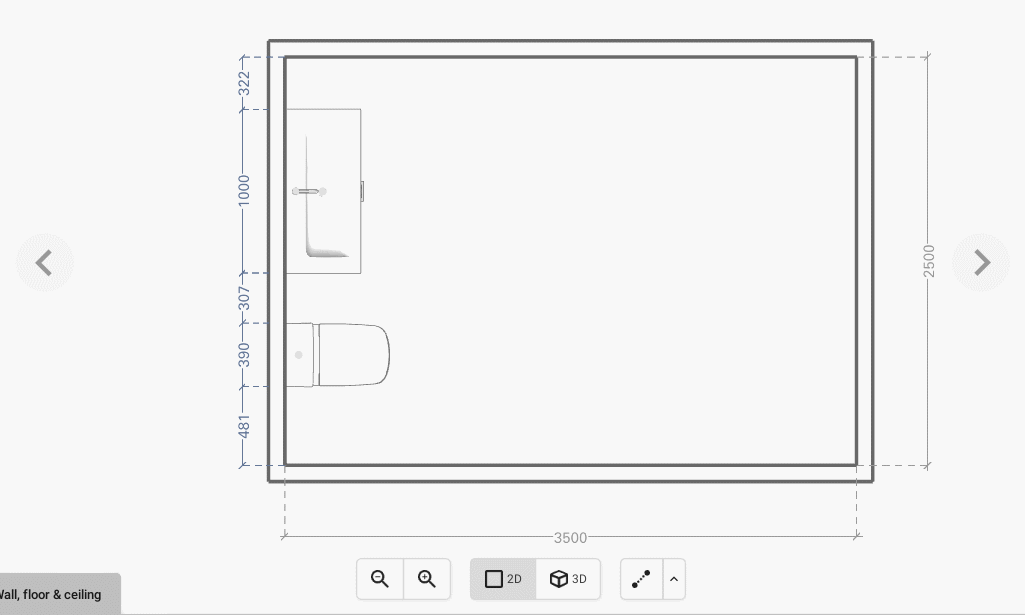
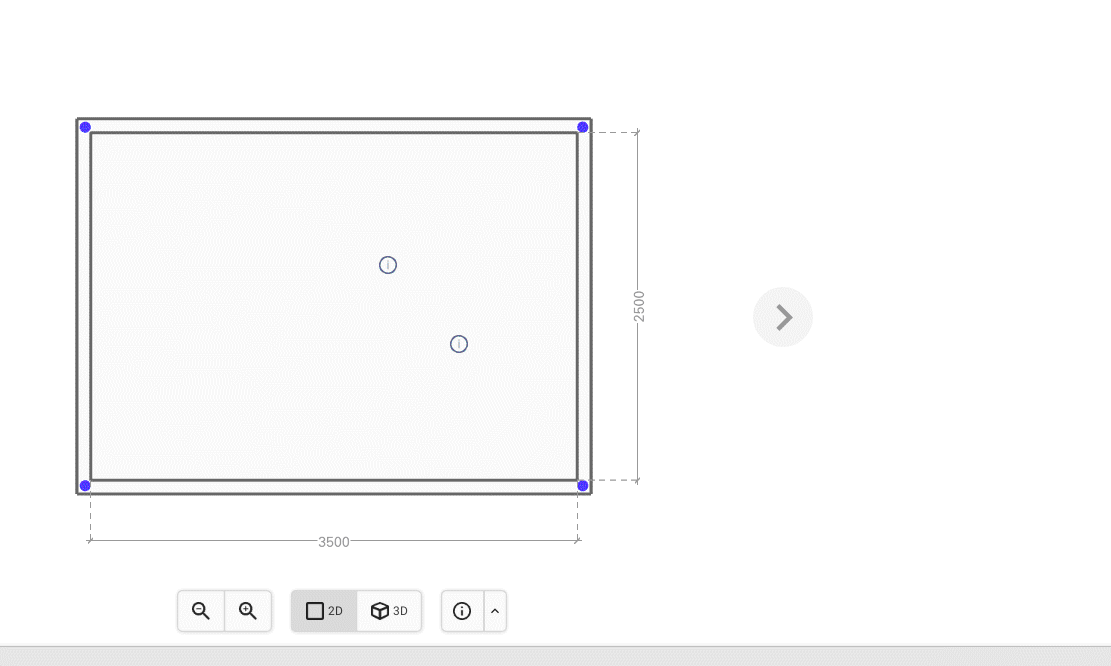
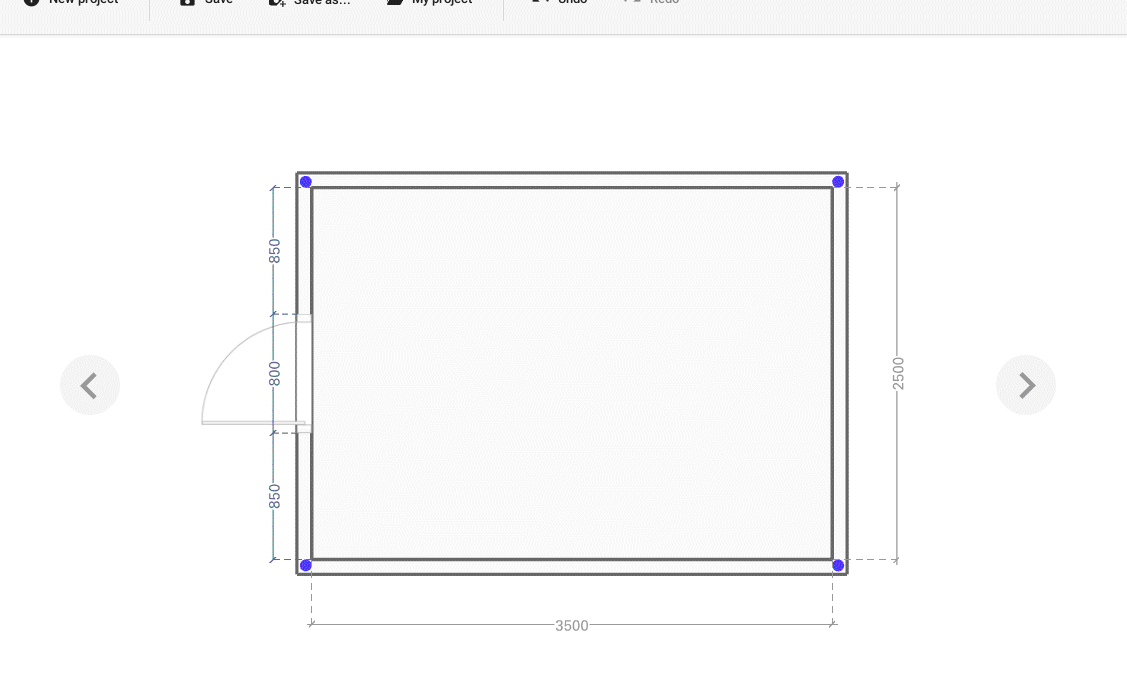
2. Area di disegno
L’area di disegno mostra una vista del disegno corrente. Interagendo con il disegno, è possibile modificarlo fino a ottenere la forma desiderata. La barra sottostante consente all’utente di ingrandire o ridurre la visualizzazione, vedere il disegno sia in vista 2D a layout sia in vista prospettica 3D e aggiungere misure e annotazioni al disegno.
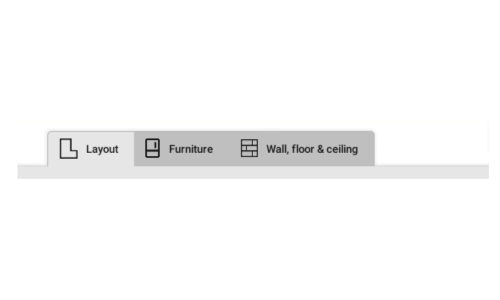
3. Tavolozza
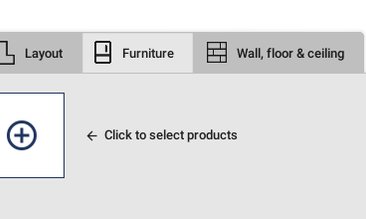
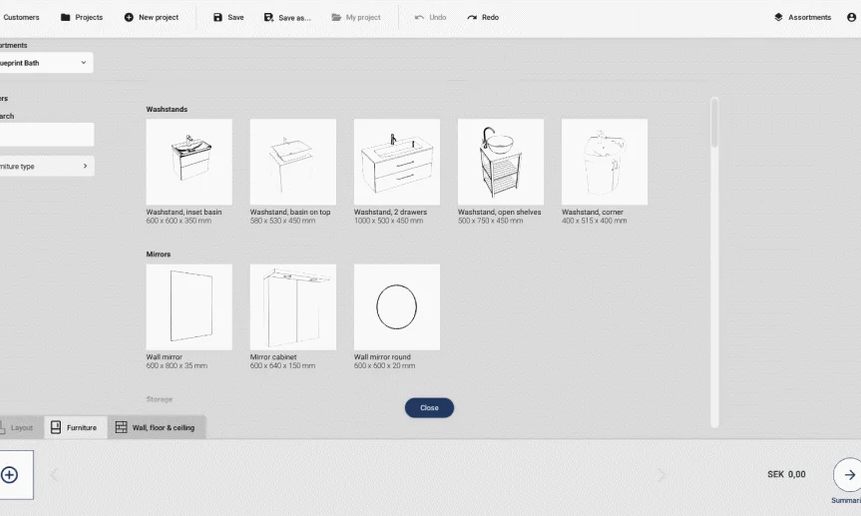
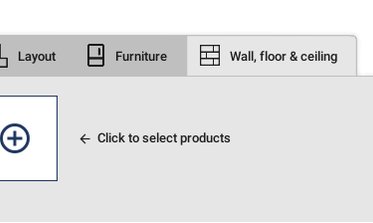
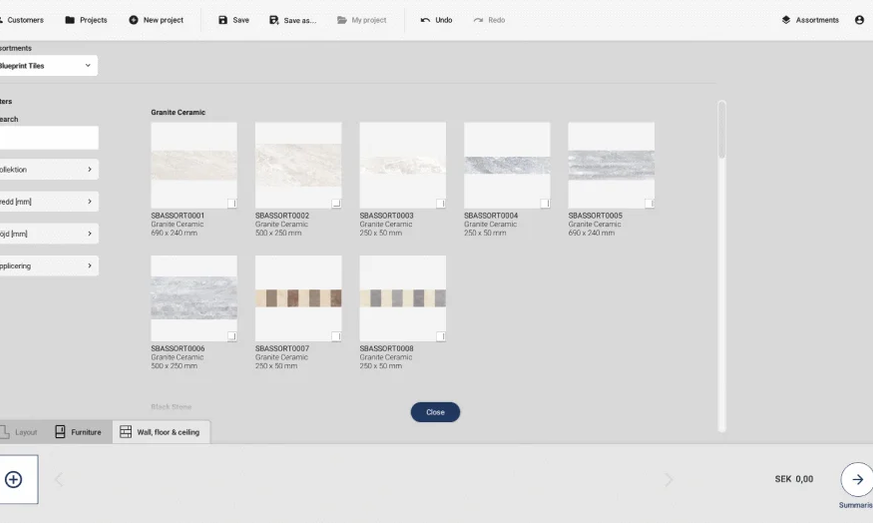
La tavolozza contiene gli oggetti e i prodotti selezionati che possono essere inseriti nel disegno. Esistono tre categorie: “Layout”, “Arredo” e “Pareti, pavimento e soffitto”; le ultime due sono collegate agli assortimenti installati, ai quali si accede facendo clic sul pulsante “+”.
4. Pannello delle opzioni
Nel pannello Opzioni vengono mostrate le proprietà configurabili dell’oggetto o del prodotto attualmente selezionato. Possono essere, ad esempio, posizione, rotazione o colore, anche se le proprietà disponibili dipendono dall’oggetto.
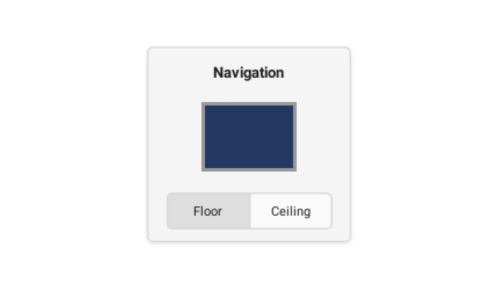
5. Pannello di navigazione
Il pannello di navigazione mostra quale superficie del disegno è attualmente attiva e consente anche di passare facilmente dalla vista del pavimento a quella del soffitto.
Per iniziare
Creating a drawing
A Spark Blueprint Project consists of one or multiple Proposals, also referred to as drawings. Creating a drawing is easy, and the first thing you need to do is modifying the layout before adding products, furniture, and structure to the room.
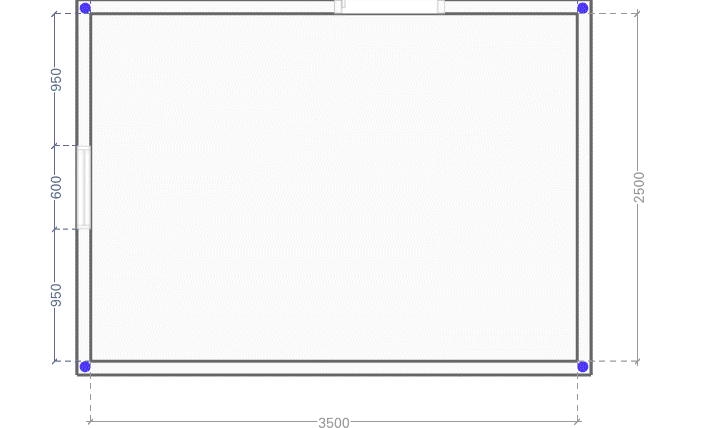
Modifying the Layout
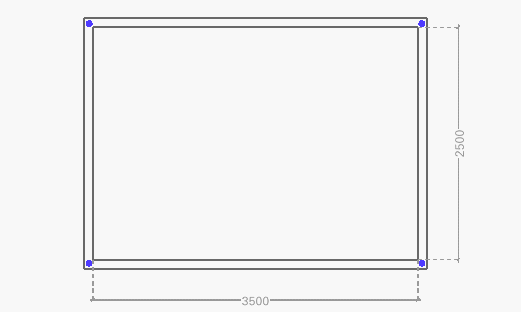
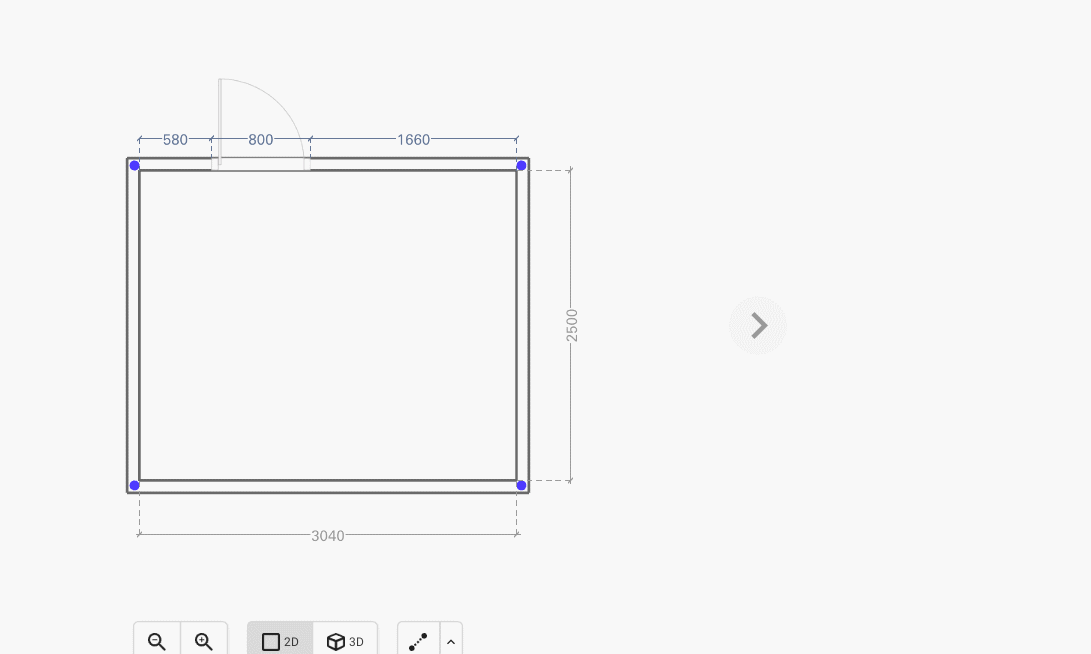
Start off by getting the measurements of your drawing right. Make sure the “Layout” tab is selected in the Palette.
Select the floor perspective in the Navigation panel by clicking in the middle of the drawing representation.
BASIC ACTIONS


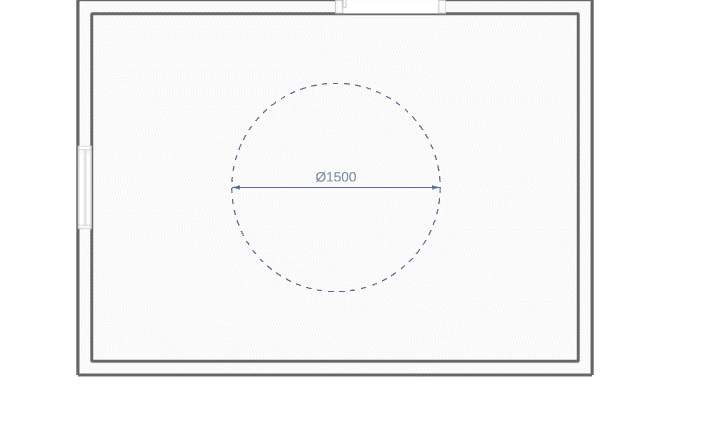
Adding Furniture
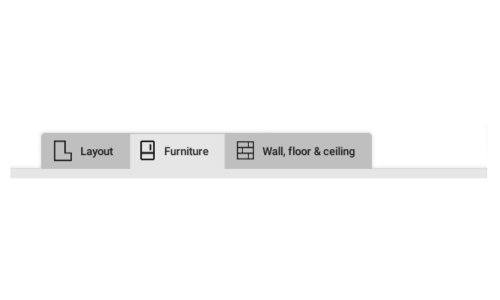
To add furniture to your drawing select the Furniture tab in the Palette.


Adding products to surfaces
To add furniture to your drawing select the Wall, floor & ceiling tab in the Palette.


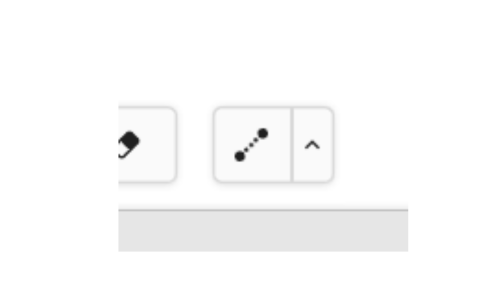
Adding measurements or annotations
To add measurements or annotations to the drawing, use the measurement-tool in the Drawing area.
Basic actions


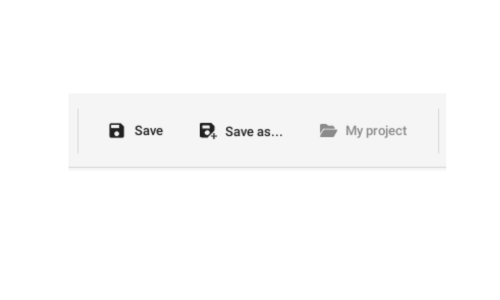
Saving your work
To be able to open the drawing again, it needs to be saved. Depending on if it is the first proposal in a new project, or a proposal from an already existing project, there are different ways to proceed.
Using Save and Save As
To save your work in Spark Blueprint, use the Save or Save as buttons which are placed in the Control bar.
Basic Actions

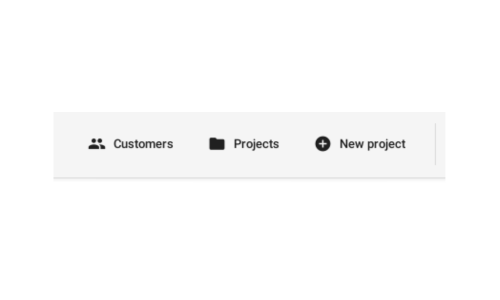
Managing projects and proposals
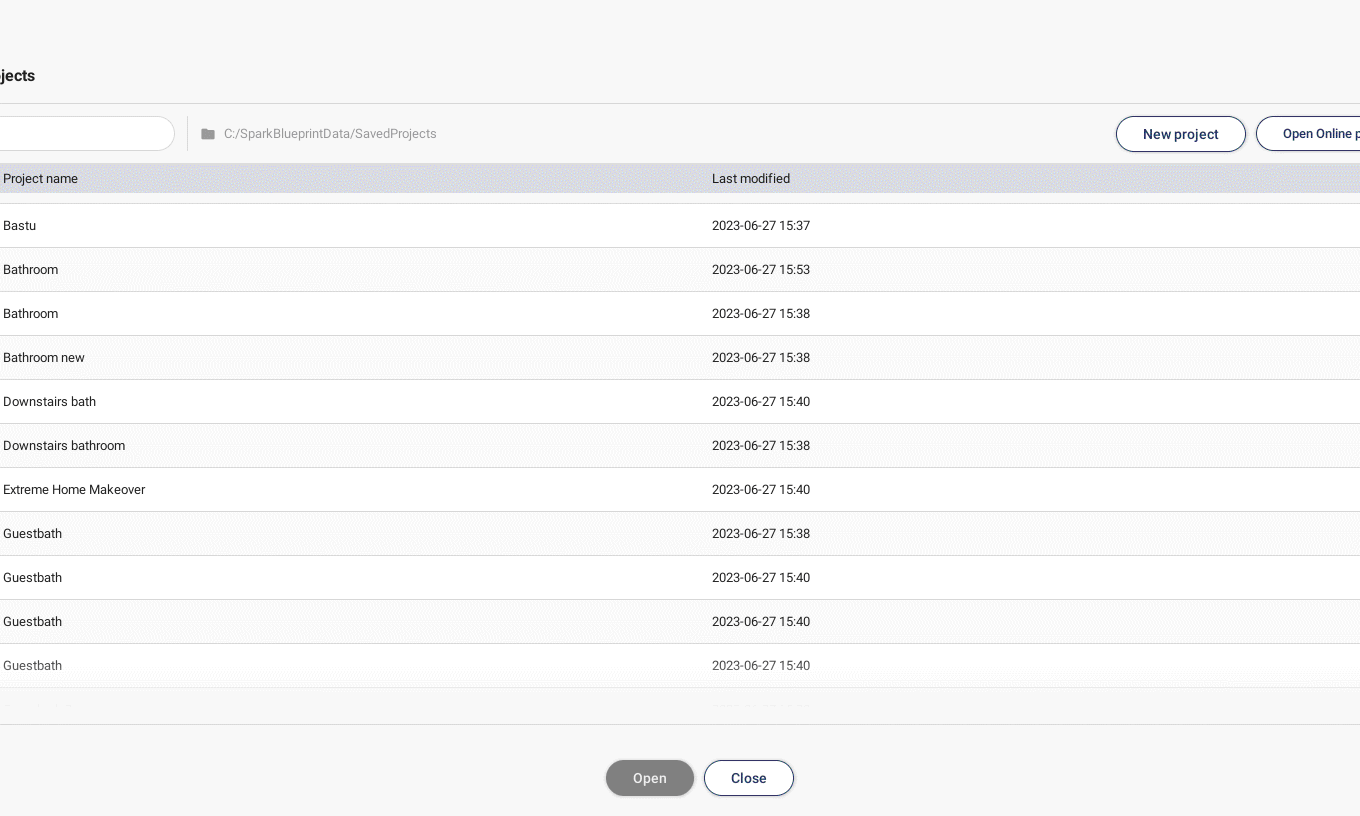
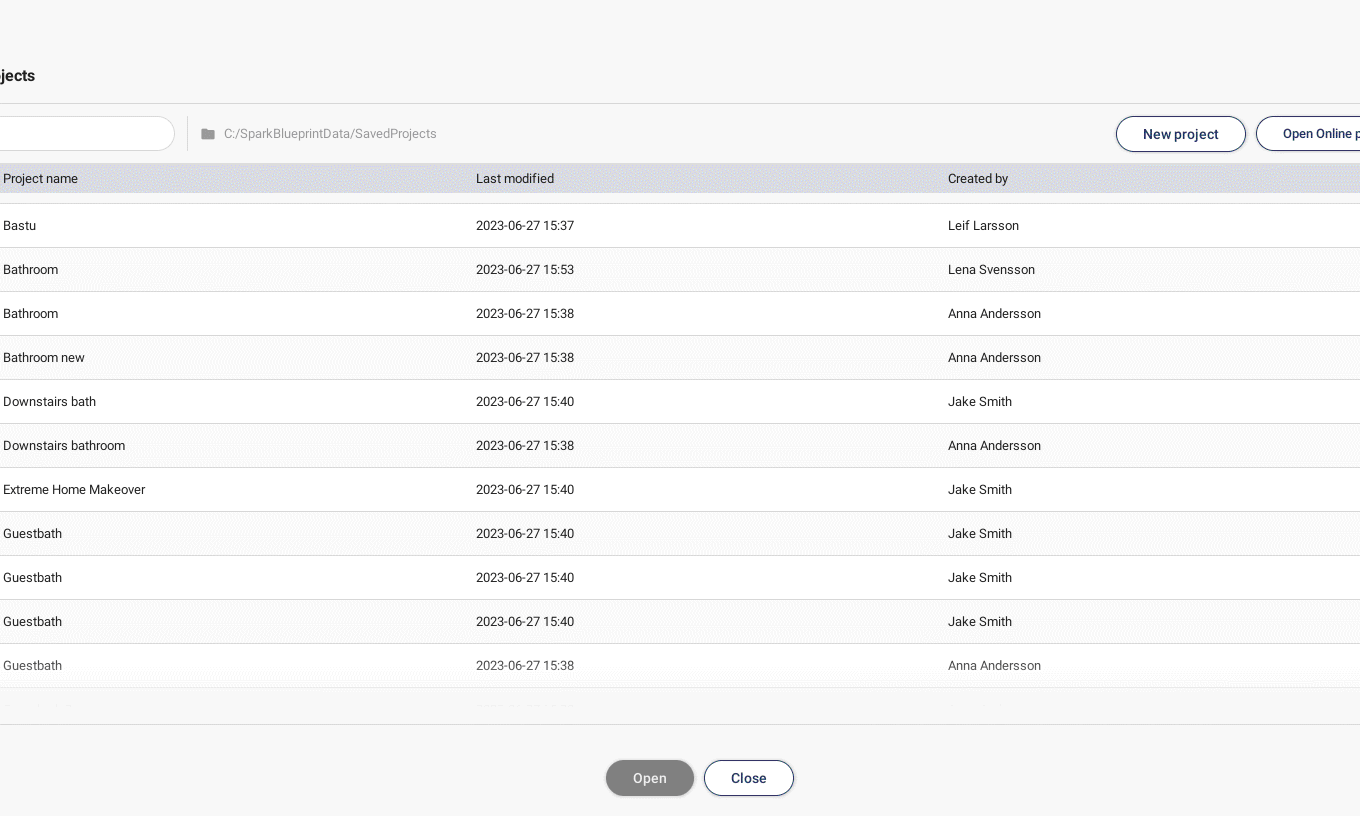
All of your projects will be shown under the Projects button. In this view they can easily be sorted using the list or the search bar, which enables you to manage them and their accounted proposals in a simple way.
Projects and proposals
The Projects button is placed in the Control bar.
Basic Actions


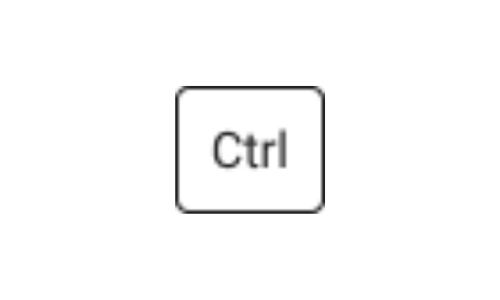
Keyboard shortcuts
Use arrow keys to nudge 1mm.
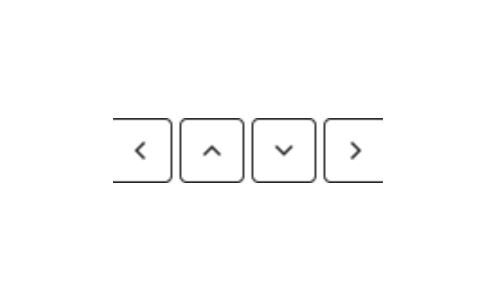
Hold down Shift while using the arrow keys to nudge 10mm.

Hold down Ctrl to prevent products from snapping if placed closer than 100mm.
Cloud Render - Photorealistic visualisation
Cloud Render creates photorealistic images of the room with one easy click. Set the appropriate perspective in Summarize and then click in Cloud Render. Using Cloud Render requires a separate license. Contact support@spark-vision.com for more information.

Contact support
If you have any questions or experience problems, please feel free to contact us at support@spark-vision.com or on +46 31 708 98 00.