
Soporte
Guía del usuario de Spark Blueprint
Spark Blueprint™ es una herramienta fácil de usar para la planificación de espacios y la visualización de alta calidad. Esta guía del usuario contiene los conocimientos básicos necesarios para utilizar Spark Blueprint™ de forma sencilla.

Descripción general
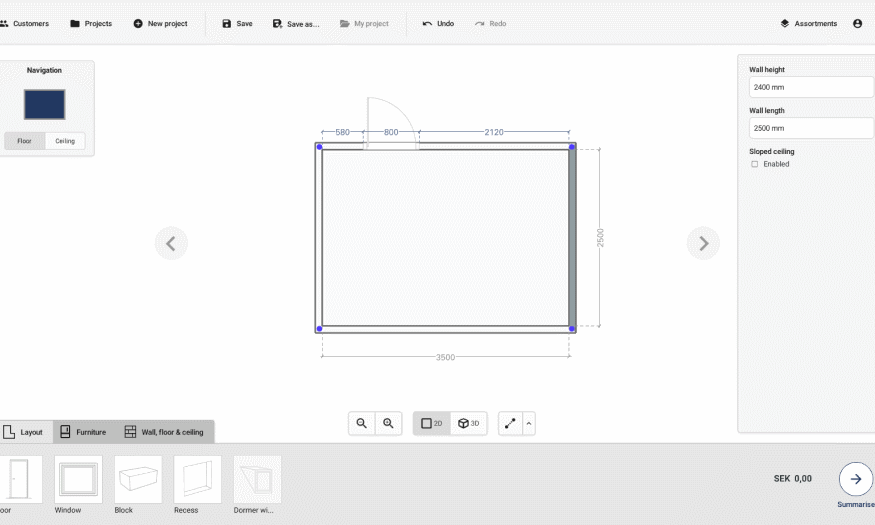
Descripción general de la interfaz de Spark Blueprint
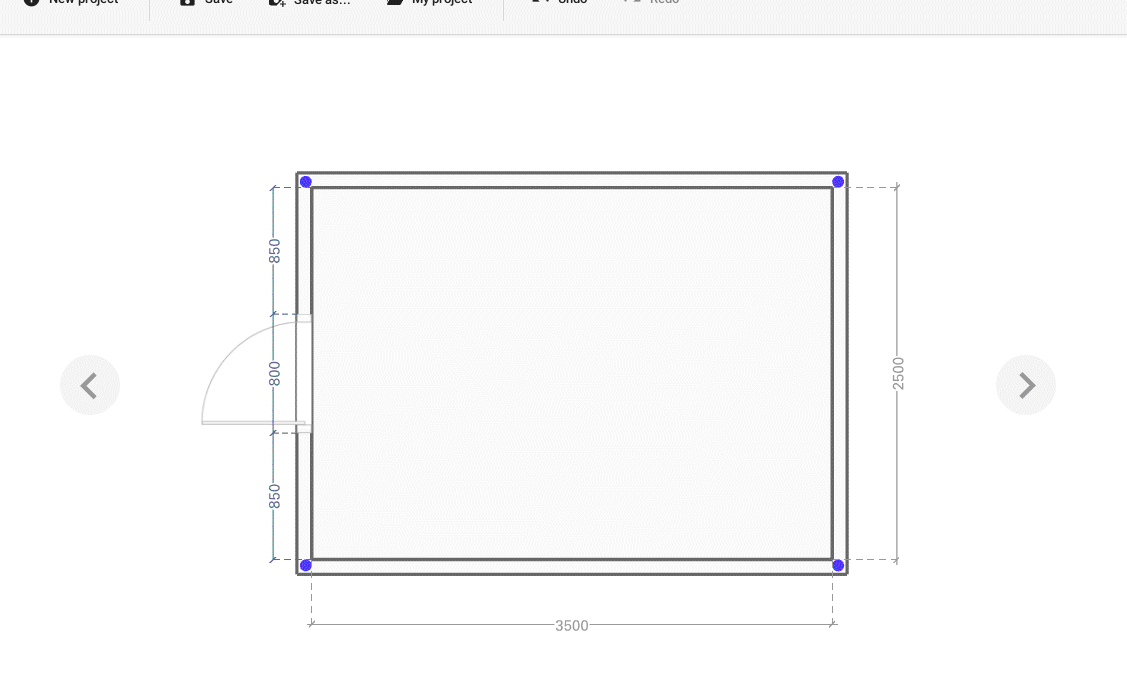
1. Barra de control
La barra de control da acceso a acciones como guardar, crear y cargar proyectos, así como a la visualización del proyecto activo en ese momento. Desde aquí también se puede deshacer y rehacer acciones. A la derecha se encuentra el gestor de surtido, junto con el control de la cuenta de usuario, las preferencias y la ayuda.
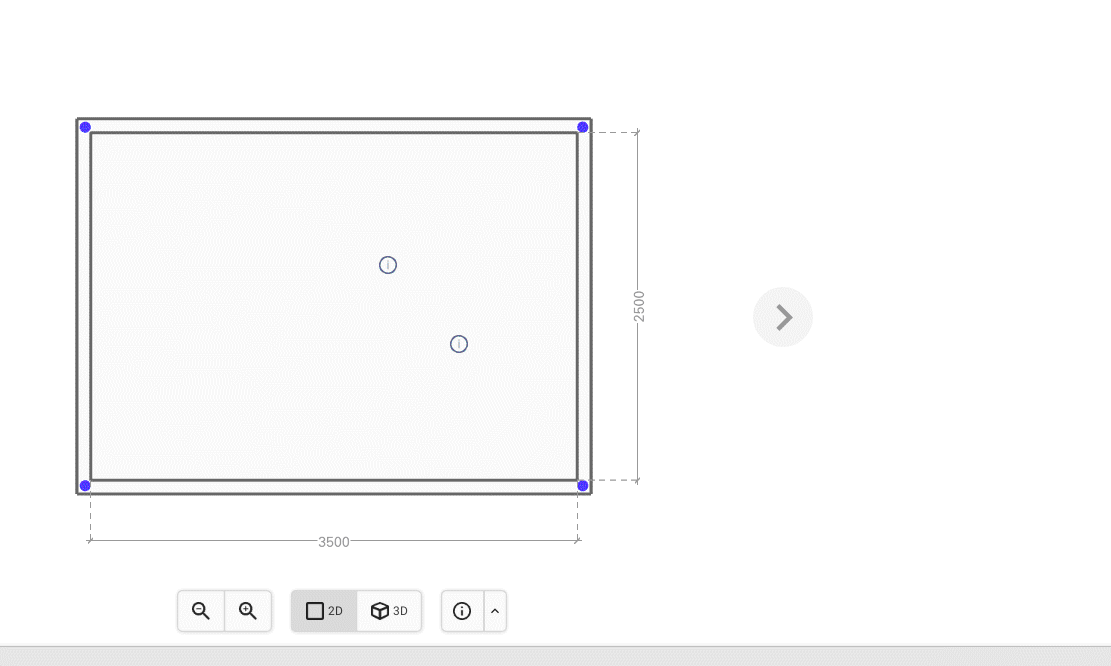
2. Área de dibujo
El área de dibujo muestra una vista del dibujo actual. Al interactuar con el dibujo, se puede manipular hasta obtener la forma deseada. La barra situada debajo permite al usuario acercar o alejar la vista, ver el dibujo en una vista de diseño 2D o en una vista en perspectiva 3D, y añadir medidas y anotaciones al dibujo.
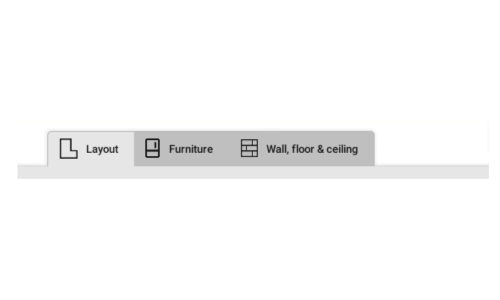
3. Paleta
La paleta contiene los objetos y productos seleccionados que se pueden colocar en el dibujo. Hay tres categorías: «Diseño», «Mobiliario» y «Pared, suelo y techo», donde las dos últimas están vinculadas a los surtidos instalados, a los que se accede haciendo clic en el botón «+».
4. Panel de opciones
En el panel de Opciones se muestran las propiedades configurables del objeto o producto seleccionado actualmente. Estas pueden ser, por ejemplo, la posición, la rotación o el color, aunque las propiedades disponibles dependen del objeto.
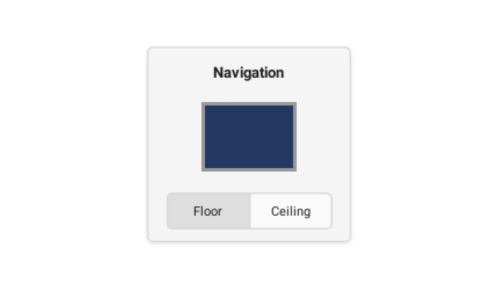
5. Panel de navegación
El panel de navegación muestra qué superficie del dibujo está activa en ese momento. También permite cambiar fácilmente entre la vista de planta y la vista de techo.
Primeros pasos
Crear un dibujo
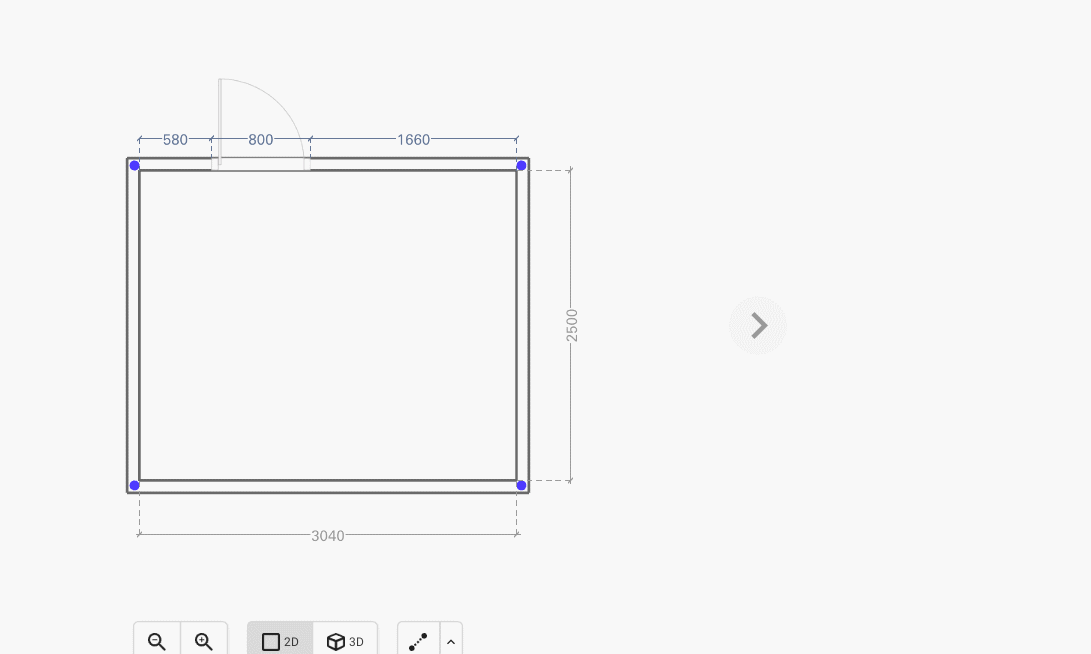
A Spark Blueprint Project consists of one or multiple Proposals, also referred to as drawings. Creating a drawing is easy, and the first thing you need to do is modifying the layout before adding products, furniture, and structure to the room.
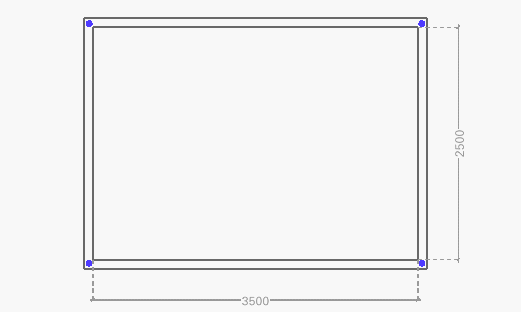
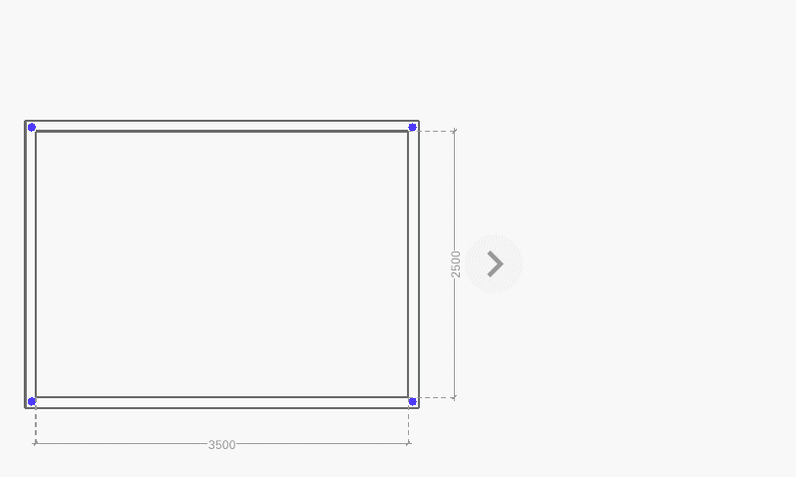
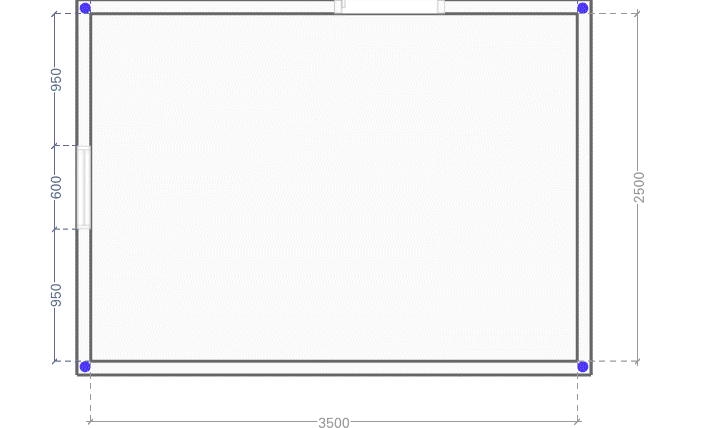
Modifying the Layout
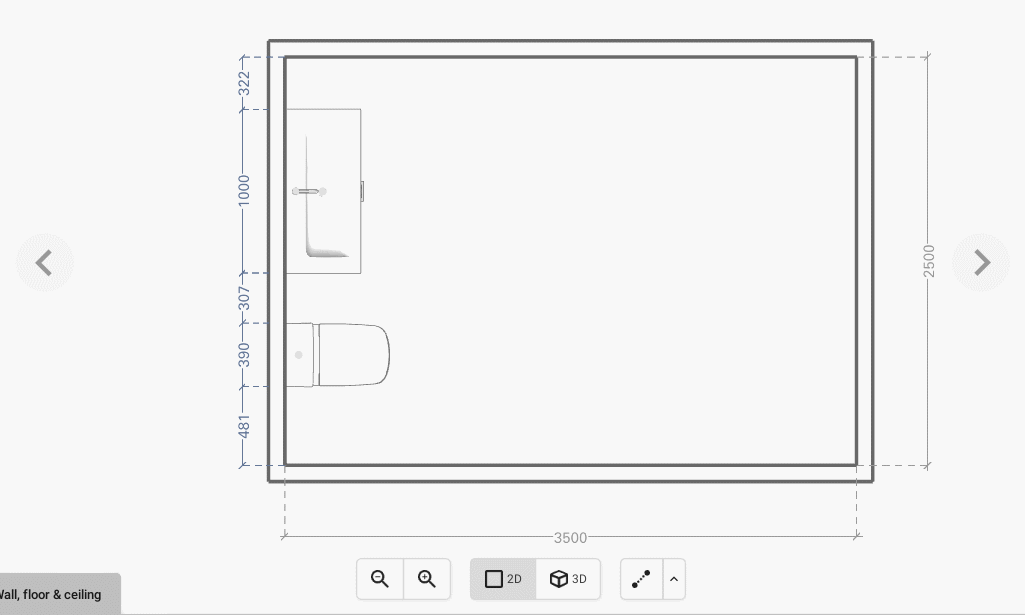
Start off by getting the measurements of your drawing right. Make sure the “Layout” tab is selected in the Palette.
Select the floor perspective in the Navigation panel by clicking in the middle of the drawing representation.
BASIC ACTIONS


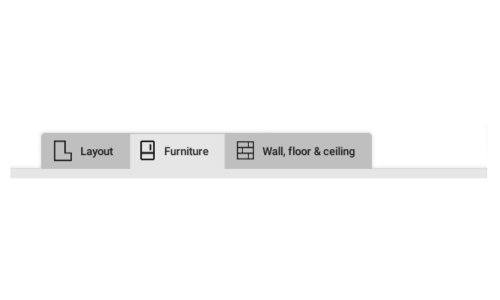
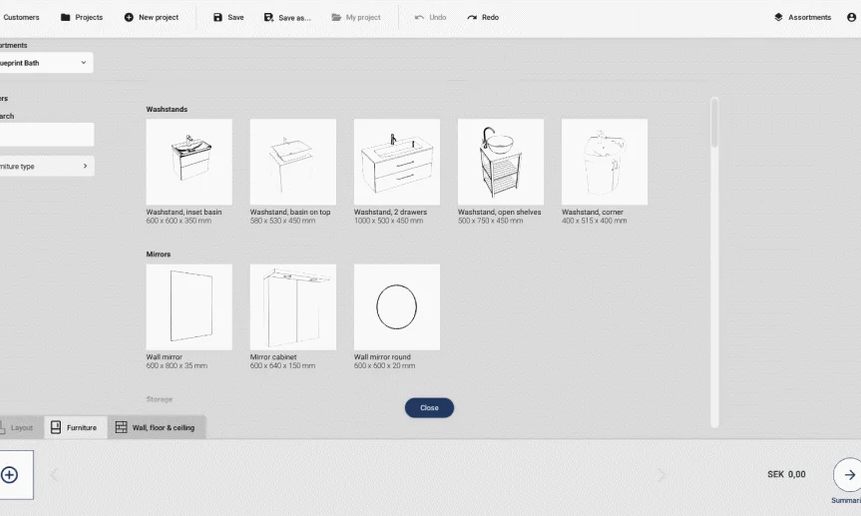
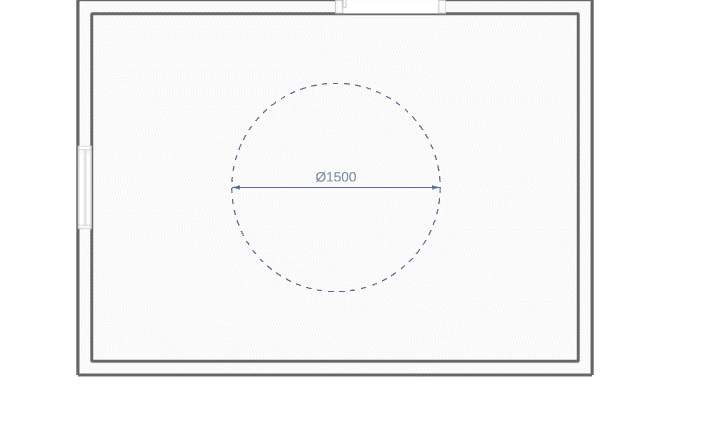
Adding Furniture
To add furniture to your drawing select the Furniture tab in the Palette.
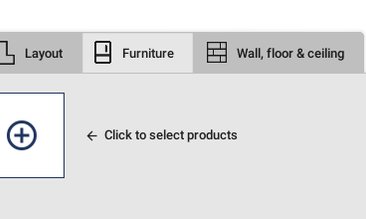


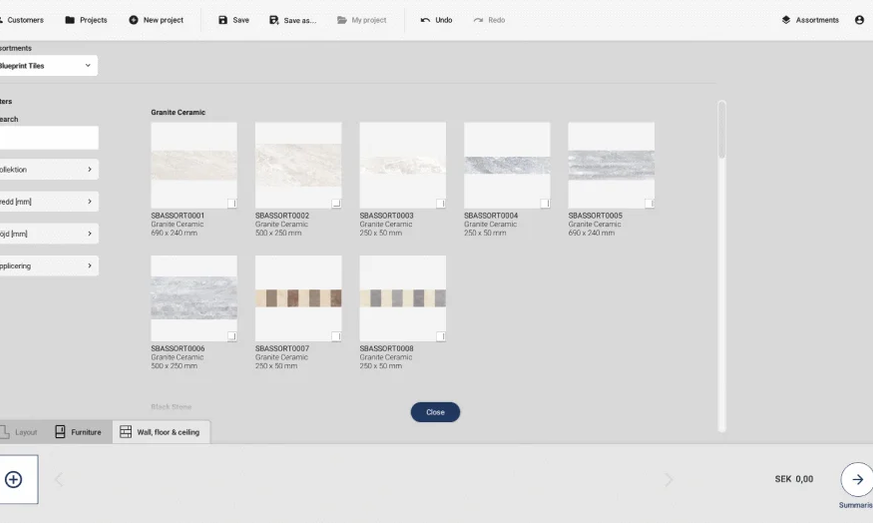
Adding products to surfaces
To add furniture to your drawing select the Wall, floor & ceiling tab in the Palette.


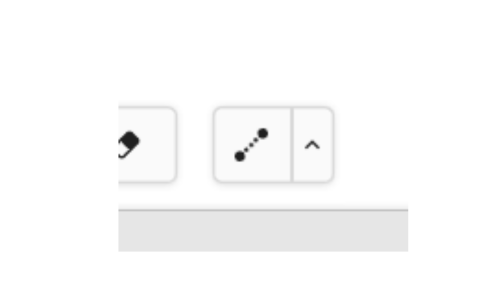
Adding measurements or annotations
To add measurements or annotations to the drawing, use the measurement-tool in the Drawing area.
Basic actions


Saving your work
To be able to open the drawing again, it needs to be saved. Depending on if it is the first proposal in a new project, or a proposal from an already existing project, there are different ways to proceed.
Using Save and Save As
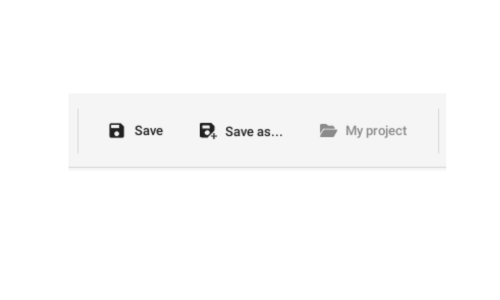
To save your work in Spark Blueprint, use the Save or Save as buttons which are placed in the Control bar.
Basic Actions

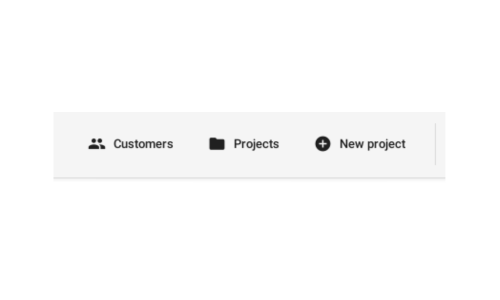
Managing projects and proposals
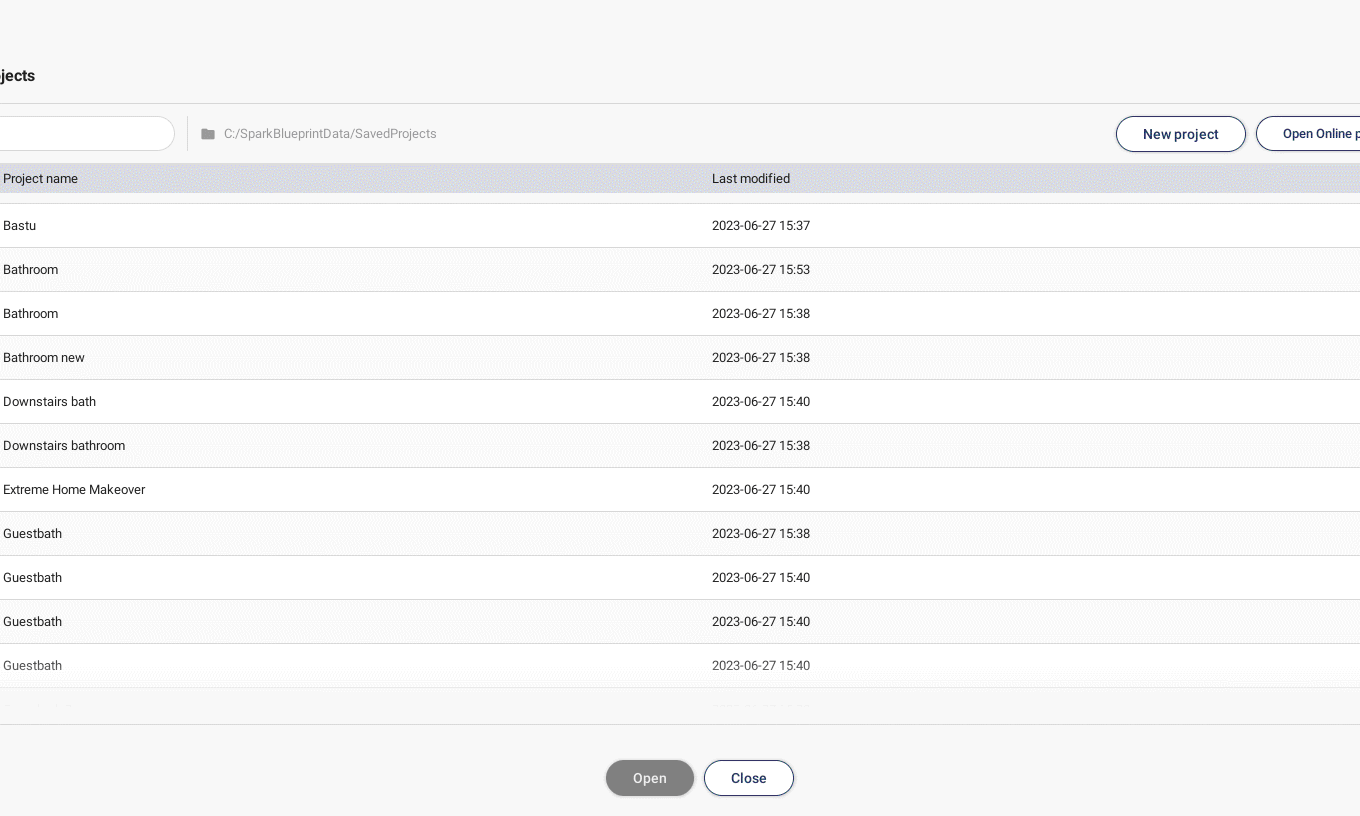
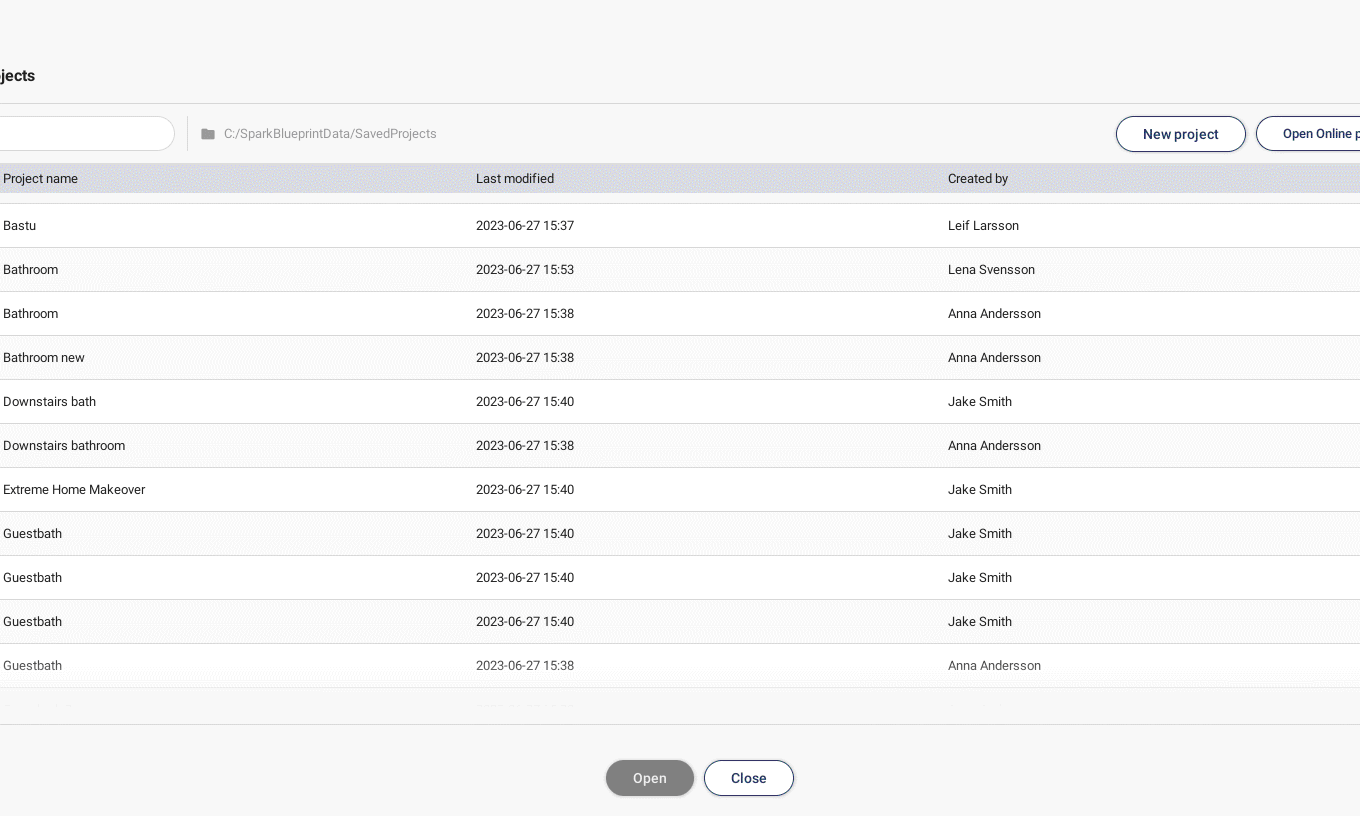
All of your projects will be shown under the Projects button. In this view they can easily be sorted using the list or the search bar, which enables you to manage them and their accounted proposals in a simple way.
Projects and proposals
The Projects button is placed in the Control bar.
Basic Actions


Keyboard shortcuts
Use arrow keys to nudge 1mm.
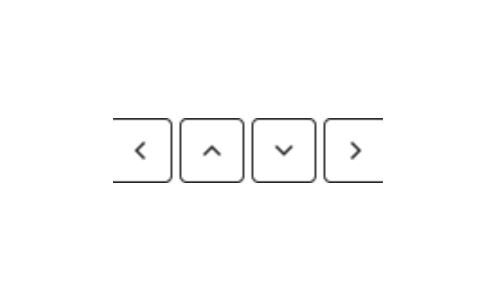
Hold down Shift while using the arrow keys to nudge 10mm.

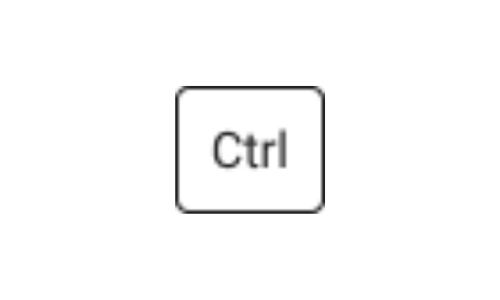
Hold down Ctrl to prevent products from snapping if placed closer than 100mm.
Cloud Render - Photorealistic visualisation
Cloud Render creates photorealistic images of the room with one easy click. Set the appropriate perspective in Summarize and then click in Cloud Render. Using Cloud Render requires a separate license. Contact support@spark-vision.com for more information.

Contact support
If you have any questions or experience problems, please feel free to contact us at support@spark-vision.com or on +46 31 708 98 00.